How to maintain vendor
For maintaining the
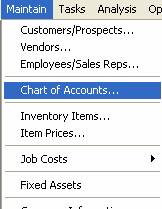
vendor you will move your cursor toward the maintain bar located on the top of
the window and then left click on the “maintain” bar after that you will select
the second option (vendor).

After selecting the
vendors..You will get the following windows for the purpose of maintaining the
vendors and where you provide the information about the vendor of the company.
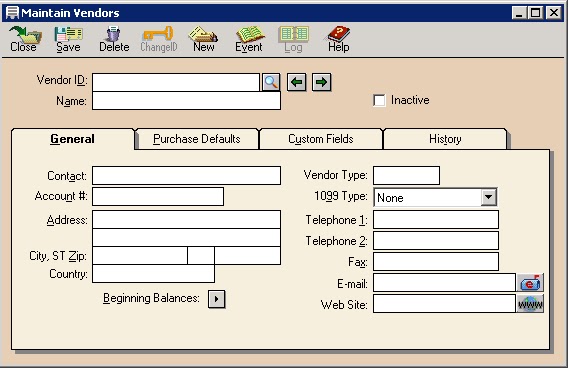
Here you should provide
the information of the vendor of the company for maintaining the vendor. You should
provide the vendor id and name .This is the general tab of the vendor maintaining.
Here you provide the vendor contact information, account number address, city,
zip code and country.etc….
After provides these information
about the vendor you can move the next tab of the maintain vendor windows. Which
is as follow:-

Here you can provide
the purchase information about the vendor like tax id, shipment information
purchase rep but you must be able to provide the purchase account id like inventory
id is (120).
Now you should move
toward the next step of maintaining the vendor which is the next tab of the
vendor account is customer fields:-

Here you can set the
customs field name. This is for the purpose of setting the customer field’s name.
After this the next tab
of maintain vendor is history:-

This window is for maintained
the history of the vendor here you can provide the information of the vendor history
to the software like purchases, payments etc…
After all you can save
all the data provided to the software about the vendor. By pressing the alt key
and “s” key jointly or by pressing the “save” tab located on the top of the maintain
vendor window.
Maintain default setting of the
vendor
For maintaining the
default setting of the vendor first you move your cursor towards the maintain tab
located on the top of the main screen:-

After selecting the
main you should move to the third last option which is default information
after this you can reach to the vendor and select the vendors… option. As the
above picture tell.
After selecting the vendor
option you can get the following window:-

In the vendor default
setting you can enter the default data about the vendor the company.
You can provide information
about the aging, customer fields and settings etc.
Here you should provide
the purchase account id like (120) shown in the above picture.


